A dishwasher that won’t spray water leaves you with dirty dishes and frustration. Before you call a repair technician or resign yourself to hand-washing, though, there’s good news: many water spray problems are fixable with basic tools and a little elbow grease. The culprit is often something simple, a clogged spray arm, a kinked supply line, or sediment blocking the inlet valve. In this guide, we’ll walk you through five troubleshooting steps to diagnose why your dishwasher isn’t spraying and how to get it working again. Most of these fixes take less than an hour.
Table of Contents
ToggleKey Takeaways
- A dishwasher not spraying water is often caused by a clogged spray arm, kinked water line, or blocked inlet valve—all fixable issues that take less than an hour.
- Clean the spray arm’s holes with a thin wire or vinegar soak to remove mineral deposits and food debris that restrict water flow.
- Check that your water inlet hose is fully connected, not kinked, and the shutoff valve is open (parallel to the water line) to ensure proper water pressure.
- A clogged or debris-filled inlet valve screen can prevent water from flowing; soaking it in vinegar and rinsing often restores normal operation.
- If the spray arm, water line, and inlet valve are all clear but water still isn’t spraying, the wash pump motor may have failed and typically requires professional repair.
- Call a repair technician if you hear grinding or squealing, see leaking water, or suspect multiple components are failing—professional diagnostics cost $200–$500 but prevent costly trial-and-error repairs.
Check the Spray Arm for Clogs and Debris
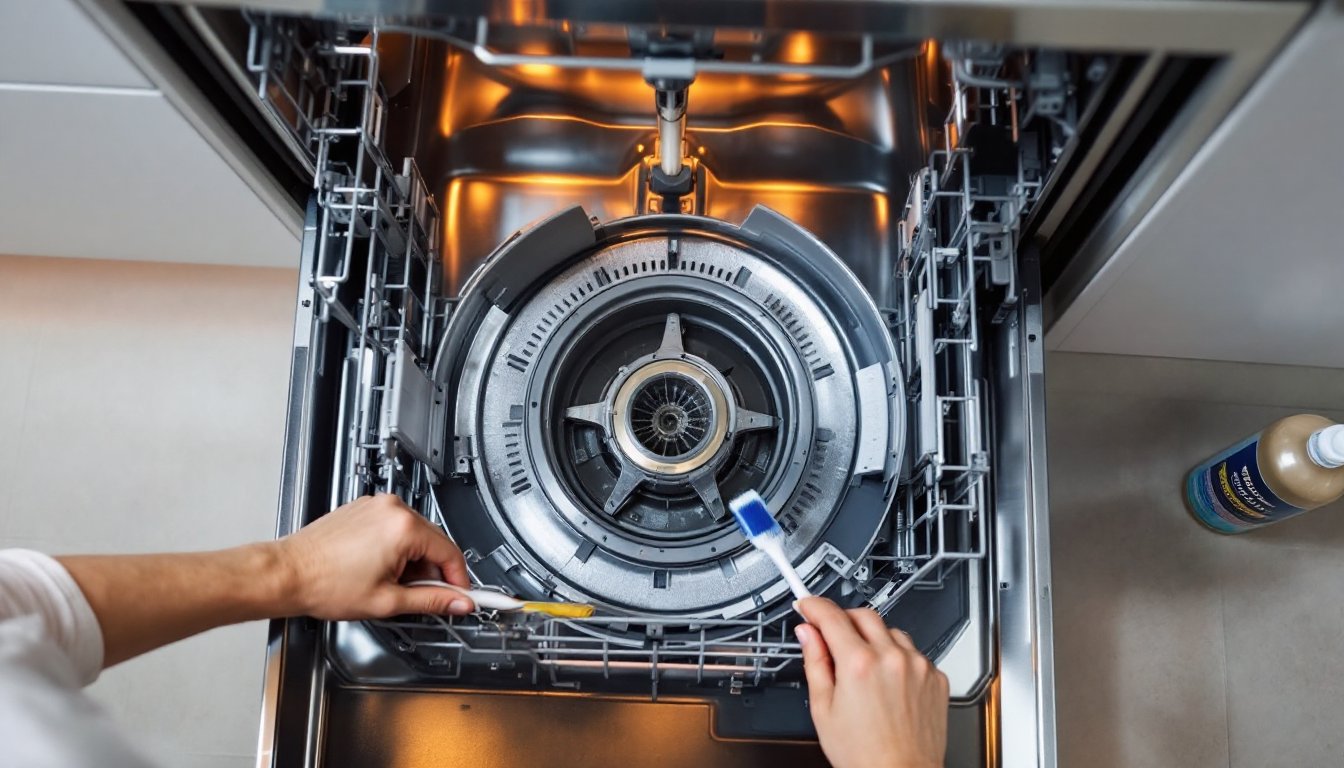
The spray arm is the rotating component that distributes water under pressure throughout the wash chamber. Over time, mineral deposits, food particles, and sediment accumulate in the tiny holes along the arm, restricting water flow. If the arm can’t spray properly, dishes won’t clean, and you might see little to no water movement at all during a cycle.
Start by pulling out the lower rack and inspecting the spray arm visually. Look for visible cracks, a dull white or tan coating (mineral buildup), or obvious food debris stuck in the holes. A healthy spray arm should have clear, unobstructed openings.
How to Inspect and Clean Your Spray Arm
-
Turn off power at the breaker or unplug the dishwasher. Safety first.
-
Remove the lower rack by pulling it forward until the wheels clear the guides, then lift it out.
-
Inspect the spray arm for clogs. A flashlight helps. Look at the underside where most spray holes are located.
-
Use a thin, stiff wire (like a straightened paper clip) or a dedicated dishwasher spray arm cleaning tool to gently clear each hole. Work slowly, forcing it can enlarge the holes and reduce spray pressure.
-
Soak the entire arm in white vinegar for 30–60 minutes if buildup is heavy. Vinegar dissolves mineral deposits without harsh chemicals.
-
Rinse thoroughly under warm running water and reinstall. Make sure it spins freely in its socket.
Run a short test cycle with an empty dishwasher to see if spray pressure improves. If water flows freely from the arm now, you’ve solved it.
Verify Your Water Supply Line Is Connected
A loose or kinked water inlet hose starves your dishwasher of the pressure it needs to spray effectively. This is one of the easiest, and most overlooked, culprits.
Locate the water inlet line, usually at the bottom left or right rear of the unit (behind or beneath the kick panel). It’s typically a braided stainless steel or rubber hose connected to a hot water source under your sink.
Check the connection points at both ends: the wall shutoff valve and the dishwasher inlet port. Hand-tighten any loose fittings by turning clockwise. Use an adjustable wrench if needed, snug, not over-tight. A finger-tight connection often weakens over time due to vibration.
Next, trace the entire hose length. Look for kinks, crushes, or pinch points where the hose bends at sharp angles. If you find one, gently straighten the line. Reroute it if necessary to avoid being clamped by cabinet edges or other plumbing.
Also check that the inlet shutoff valve (the small knob at the wall connection) is fully open. It should be parallel to the incoming water line, not perpendicular. If it’s perpendicular, turn it until it aligns with the line direction.
Run a full cycle and listen for water rushing into the tub at the start. You should hear a clear fill noise within the first 30 seconds.
Clean or Replace the Water Inlet Valve
The water inlet valve is a solenoid-operated component that opens and closes to let water into the dishwasher. When sediment, mineral deposits, or debris accumulate inside the valve seat, water can’t flow at full pressure, or at all. This is especially common in areas with hard water.
Safety note: Before working on the inlet valve, turn off power to the dishwasher at the breaker and close the hot water shutoff under the sink.
To access the inlet valve, you’ll typically need to remove the lower front panel or the bottom access cover (consult your model’s manual for exact location, it varies). Once you can see it, you’ll notice a mesh screen at the water inlet port. This screen traps sediment before it enters the valve. If it’s clogged, no amount of arm cleaning will help.
Unscrewing the inlet hose fitting reveals the screen. Soak it in vinegar for 30 minutes, rinse under running water, and carefully reinstall. Don’t force it: the threads are fragile.
If the screen is clean but water still isn’t spraying, the valve seat itself may be blocked. Gently turning the solenoid plunger (the small rod in the center) while running a bit of water through can sometimes clear minor obstructions. If that doesn’t work, the valve likely needs replacement, a $50–$150 part depending on your model, plus an hour of labor if you’re not comfortable with it.
Signs Your Inlet Valve Needs Attention
• Water trickles instead of flowing during the fill cycle
• The dishwasher fills very slowly (takes 5+ minutes to fill the tub)
• A humming or clicking sound from the valve area, but no water flow
• Hard water staining inside the valve (visible white or tan residue)
• The dishwasher fills only partway, then stops
If you hear humming or clicking but no water moves, the solenoid is trying to open a blocked valve. Stop and investigate before running more cycles, you risk damaging the solenoid coil.
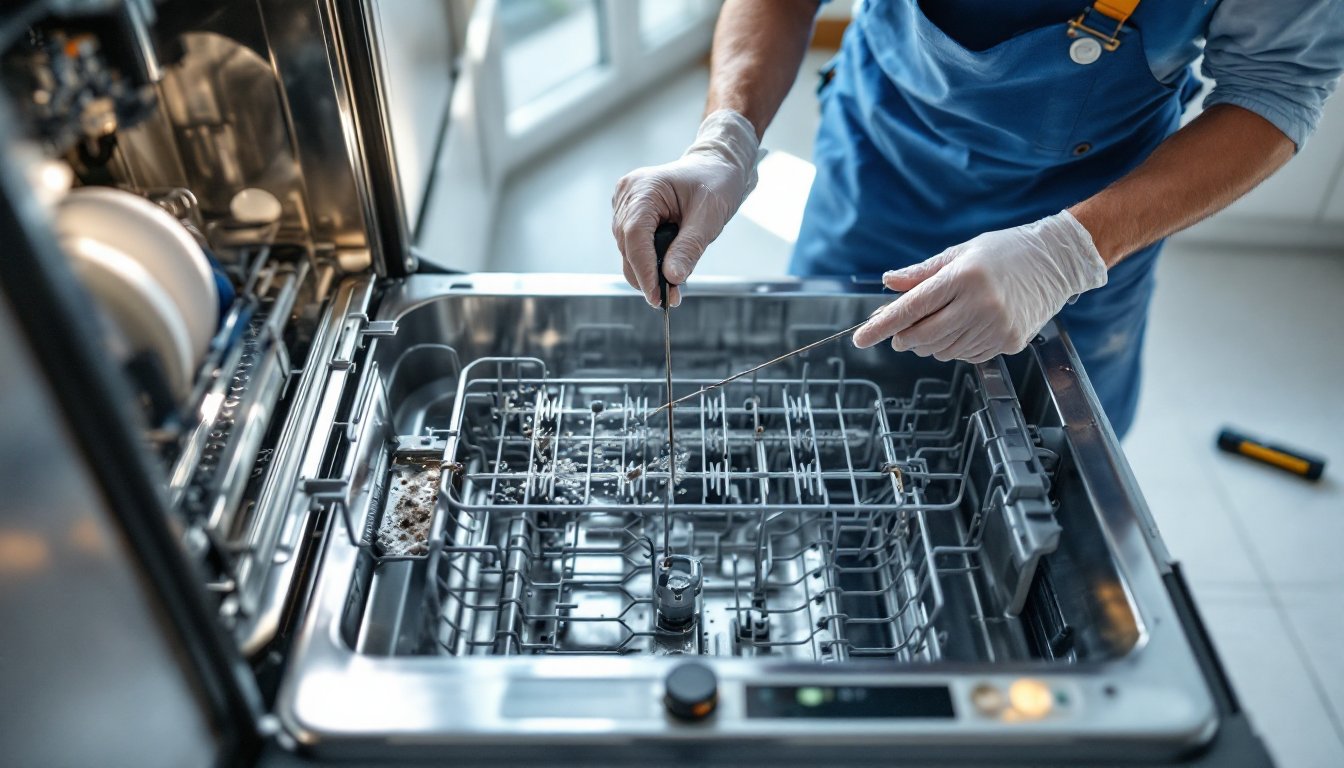
Inspect the Wash Pump and Motor
If you’ve cleaned the spray arm, the water supply line is clear, and the inlet valve is working, the issue might be with the wash pump or motor that pressurizes the water and forces it through the spray arm.
The pump is located at the bottom of the dishwasher and runs on a timer during the wash and rinse cycles. Without it, water sits in the tub but never sprays. A failing pump makes unusual grinding, squealing, or rattling noises during operation.
To diagnose a pump problem, run a short cycle and listen carefully. Place your hand on the exterior of the unit (where the pump sits, usually lower center-front) and feel for vibration. A healthy pump vibrates rhythmically. No vibration often means the motor isn’t running.
Listen for water movement inside the tub, a whooshing sound. If you hear the timer clicking and the fill noise, but nothing else happens, the pump isn’t spinning.
Pump repairs typically require removing the lower sump assembly, which involves draining the dishwasher and disconnecting electrical connectors. This is where DIY skills meet diminishing returns. If you’re comfortable working with water connections and wiring, a replacement pump costs $80–$200 depending on the model. But, if the motor itself has burned out, you’re looking at a $200–$400+ repair.
Before replacing the pump, confirm it’s actually faulty by checking that power reaches the unit and that no safety interlocks (like a float switch preventing operation if the sump is full) are triggered. Consult your model’s wiring schematic: most manufacturers include it in the manual or online.
When to Call a Professional Repair Technician
Some dishwasher problems are worth tackling yourself: others aren’t. Here’s when to stop troubleshooting and pick up the phone.
Call a pro if:
• The pump motor isn’t running even though power reaching the unit. Motor replacement requires specialized diagnostics and often involves partial disassembly that voids warranties if done incorrectly.
• The inlet valve needs replacement and your model requires significant disassembly to access it. On some units, it’s a 15-minute job: on others, it’s two hours of work.
• Water is leaking from the unit during operation. This suggests a cracked valve body, failed seal, or compromised internal hose, all internal fixes.
• You hear grinding or squealing that doesn’t stop after cleaning the spray arm and inlet screen. This points to pump bearing failure or internal damage.
• Multiple components are failing at once (no fill, no spray, unusual noise). You may have an electrical issue that requires a technician’s multimeter and diagnostic software.
A professional repair typically costs $200–$500 in labor plus parts. Compare that to a new dishwasher ($400–$1,200+). If your unit is over 10 years old and repairs exceed 50% of a replacement’s cost, replacement is often smarter financially.
Also, some issues involve the dishwasher’s control board, which is beyond most DIYers’ comfort zone. Water and electronics don’t mix, and board replacement requires proper diagnosis to avoid repeat failures.
A repair technician will run specific tests, checking water pressure with a gauge, testing solenoid coils with a multimeter, listening for seal failure, that take the guesswork out. You’ll pay for certainty, but you’ll avoid the frustration of ordering parts that don’t fix the problem.