
If you’re building a wet bar, finishing a garage workshop, or upgrading a secondary kitchen space, a Summit refrigerator might be the practical answer you’ve been searching for. These compact, efficient units pack serious cooling power into a smaller footprint than full-size fridges, without the clunky look of a dorm-room cooler. Whether you’re shopping for a built-in or freestanding model, Summit’s lineup delivers reliable temperature control and smart design choices that appeal to homeowners who value both function and form. This review walks you through what sets Summit apart, how to install one properly, and how to keep it running without headaches.
Table of Contents
ToggleKey Takeaways
- A Summit refrigerator combines compact design with reliable cooling, fitting seamlessly into wet bars, garages, and secondary kitchen spaces without requiring custom cabinetry.
- Proper installation requires measuring twice, letting the unit settle before powering on, and ensuring a dedicated 120V electrical circuit to avoid costly errors.
- Summit models maintain precise temperature control within ±3°F, frost-free cycles, and achieve solid energy efficiency at 200–250 watts for typical undercounter units.
- Regular maintenance—cleaning condenser coils every 6 months, checking door gaskets quarterly, and clearing drainage ports—extends unit lifespan and prevents common cooling issues.
- Most Summit refrigerator problems stem from simple fixes like dirty coils, clogged drains, or improper leveling, which you can troubleshoot yourself without professional service.
What Makes Summit Refrigerators Stand Out
Key Features and Design Elements
Summit refrigerators earned their reputation by focusing on what matters: reliable cooling, smart storage, and a clean aesthetic that doesn’t scream “appliance.” Most models come with adjustable shelving, reversible doors, and frost-free technology, practical features that make daily use easier rather than gimmicks that sound good in marketing copy.
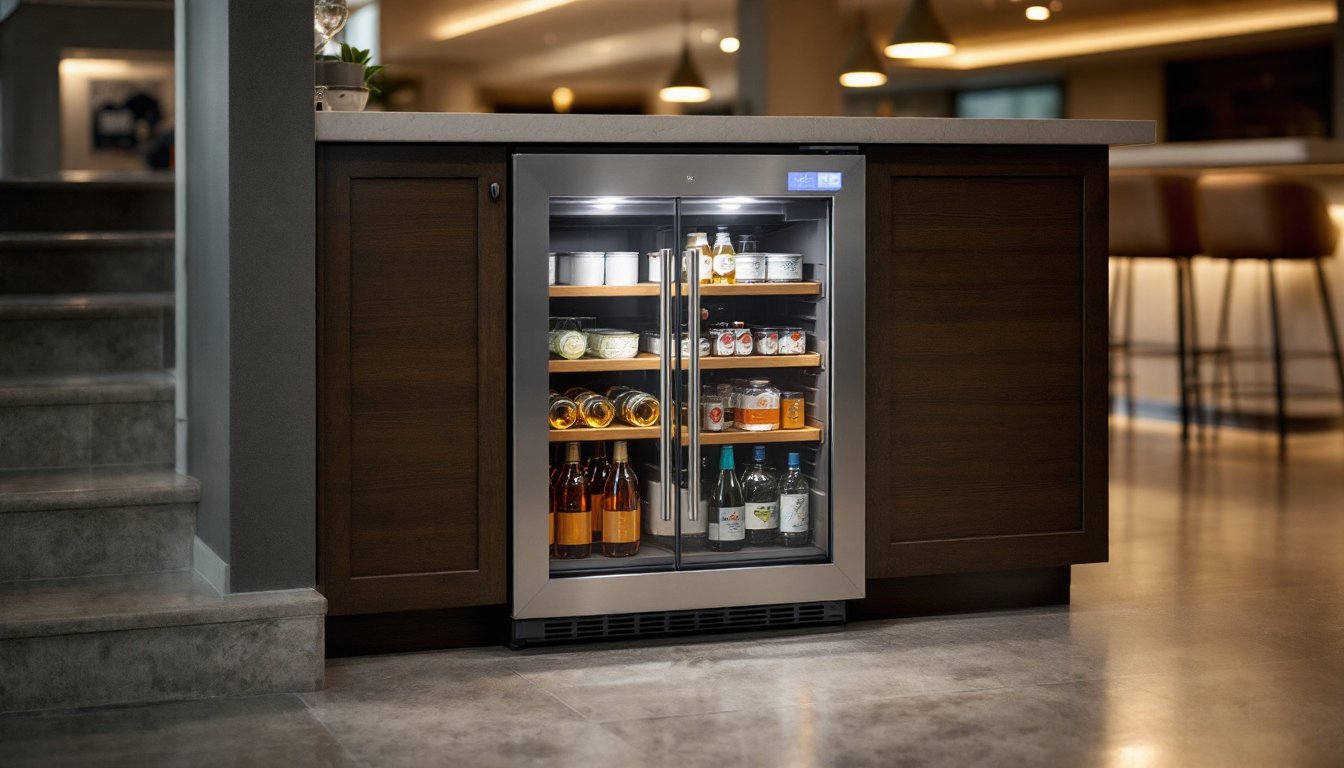
One standout design element is the compact footprint. Standard full-size refrigerators run about 35 to 36 inches wide with around 65 to 70 cubic feet of storage. Summit’s built-in and undercounter models often measure 24 inches wide with 4 to 5 cubic feet of capacity, fitting neatly into tight spaces without requiring custom cabinetry or structural modifications. Their freestanding units split the difference, more storage than undercounter, but still under 30 inches wide.
The digital temperature controls are another solid choice. You get precise degree-level adjustment rather than guessing between “medium” and “cold,” which matters when you’re storing delicate items like wine or craft beverages. Many models also feature LED interior lighting instead of incandescent bulbs, cutting down on heat generation and saving a few watts on your electric bill over time.
Door storage is thoughtfully designed, with shelves that accommodate standard bottle sizes and deeper compartments for larger items. The reversible door hinge design, something you’ll appreciate after the fact, means you’re not stuck if your space dictates opening from the left or right.
Performance and Cooling Efficiency
Summit refrigerators consistently maintain temperature within ±3°F of your setpoint, which is solid performance for a compact unit. This precision matters more than you’d think, fluctuating temps stress appliances and degrade food quality faster. The frost-free system automatically cycles defrost, so you’re not scraping ice buildup every month. No maintenance headache there.
Cooling efficiency hinges on proper air circulation and insulation. Summit units use foam insulation between the inner and outer walls and rely on a single compressor to move refrigerant through coils. Undercounter models are engineered to handle ambient temperatures up to 110°F without strain, important if you’re installing one in a garage or outdoor bar area where summer heat spikes. Freestanding units typically handle up to 75°F ambient, so a standard interior space is no problem.
Energy consumption varies by model. A typical 3 to 4 cubic foot undercounter unit draws between 200 to 250 watts under normal operation, roughly equivalent to a desktop computer or small space heater. Over a year, that translates to roughly $30 to $50 in electricity depending on regional rates and how often the door opens. It’s not nothing, but it’s reasonable for what you get. Leading sources like Good Housekeeping’s built-in refrigerator reviews compare Summit’s efficiency favorably against premium brands, particularly for undercounter and compact designs.
Ventilation placement affects cooling performance. If you install an undercounter model without proper airflow space, at least 1 inch on sides and 6 inches behind for vent clearance, the compressor has to work harder and cycle more frequently. That cuts efficiency and shortens the unit’s lifespan.
Installation and Setup for Your Space
Most Summit refrigerators are designed for DIY installation, but “DIY” here means you should be comfortable with basic electrical work and measurement. They’re not complex, but small mistakes cost you later.
Measuring your space is the first and most critical step. Write down the opening width, depth (from the front face to the back wall), and height available. Compare to the unit’s dimensions, nominal and actual sizes differ (the fridge itself is typically 0.5 to 1 inch smaller than the cabinet opening to allow for adjustment). If you’re building a custom cabinet around it, account for that gap: if you’re fitting it into an existing space, measure twice and verify the depth includes any door handle extension.
Electrical requirements: Most undercounter and freestanding Summit models run on standard 120V, 15A household current, a regular outlet on a dedicated circuit. Check the spec sheet to confirm. Built-in models sometimes require a dedicated circuit, depending on power draw. If you’re uncertain, a licensed electrician should verify your circuit and outlet placement: don’t assume your existing outlet is suitable. Building codes (part of the National Electrical Code) require appliances like refrigerators to have their own circuit, no shared loads.
Installation steps: Unpack the unit and let it sit upright for 4 hours minimum before plugging in if it was transported horizontally, this allows the refrigerant to settle. Remove all packaging material and transit bolts (usually found at the back). Position the unit in place, then level it using a bubble level and adjustable feet: tilting slightly toward the back (about 0.25 inches) helps door sealing and drainage. Resources like The Kitchn’s kitchen solutions offer detailed photos and step-by-step guidance for appliance placement in custom spaces.
For built-in or undercounter models, you may need to adjust the mounting brackets to secure it to surrounding cabinetry. Don’t skip this step, especially in kitchens with foot traffic or vibration from nearby appliances.
Plug the unit in and let it run empty for 30 minutes before loading food. Then set your target temperature and allow 4 to 6 hours for full stabilization before adding perishables.
Maintenance Tips to Keep Your Unit Running Smoothly
Summit refrigerators are low-maintenance by design, but a few simple habits extend service life and prevent costly repairs.
Clean the condenser coils every 6 months. These are usually located on the back of the unit or underneath (depending on model). Dust and debris insulate the coils and force the compressor to work longer than necessary. Unplug the unit, access the coils, and use a coil brush or soft vacuum attachment to gently remove buildup. Never use a hard wire brush, you can puncture the copper tubing.
Check the door seal quarterly. The gasket, the rubber strip around the door perimeter, keeps cold air inside. If it’s loose, cracked, or caked with food residue, the unit loses efficiency fast. Wipe it clean with warm soapy water and a soft cloth. If it’s damaged, gasket replacement kits are inexpensive (usually under $50) and a 30-minute job: remove the old one, snap the new one into the groove, and test the door seal by closing it on a dollar bill, if the bill slides out too easily, the seal isn’t tight enough.
Keep the drain clear. Undercounter models have a small drainage port at the base to handle condensation. If it clogs, water pools and you’ll see leaks. Pour warm water down the drain port every few months: if it’s sluggish, a small plastic pipe cleaner can dislodge debris.
Avoid overloading shelves. The evaporator fan needs airflow to distribute cold air. Don’t pack items so tightly that nothing moves: that forces uneven cooling and strains the motor.
Keep ambient temperature stable. Don’t place a Summit refrigerator next to a heating vent, in direct sunlight, or in a space that swings from 40°F to 80°F throughout the day. Extreme swings cause the compressor to cycle constantly, reducing reliability and efficiency.
Common Issues and Troubleshooting Solutions
Most problems with Summit refrigerators are simple to diagnose and fix yourself. Here’s what to watch for.
Unit not cooling properly: First, check your thermostat setting. If it’s too high, the interior won’t get cold enough. Lower it by one increment and wait 4 hours. Next, verify the compressor is running, listen for a soft hum near the back. No sound? Check that the power cord is plugged in and the outlet has power (plug in a lamp to test). If power is fine but the compressor isn’t running, the start relay or capacitor may have failed: that’s a warranty claim or professional repair.
Dirty condenser coils are the sneakiest culprit. A unit surrounded by dust buildup works hard to cool and sometimes gives up the effort. Clean those coils (see Maintenance section) before assuming the unit is broken.
Water pooling inside: A clogged drain port is usually the cause. Use a turkey baster or small syringe to flush warm water through the drain hole at the base. If that doesn’t work, the drain line may be frozen: leave the unit unplugged for a few hours and try again.
Door won’t seal properly: The gasket is the first suspect. Remove any food residue, check alignment, and replace if damaged. Also check that the unit is level: if tilted forward, the door won’t swing shut evenly.
Frost buildup in a frost-free model: This is rare but happens if the defrost thermostat is stuck or the heater element has failed. It’s a warranty issue, don’t attempt DIY repair on internal heating elements.
Unusual noise: A little hum is normal as the compressor cycles. If you hear buzzing, grinding, or rattling, unplug the unit and inspect for loose shelves or debris caught between the unit and wall. Tighten shelf supports and clear the space. If noise persists after reinspection, contact the manufacturer.
Always consult the manual before assuming a major failure. Summit includes a helpful troubleshooting section that covers 90% of common complaints, and the company offers email and phone support if you’re stuck.
Conclusion
Summit refrigerators deliver straightforward, reliable cooling for spaces where standard full-size units don’t fit or make sense. They’re built with practical features rather than unnecessary complexity, which makes them durable and easy to maintain. Whether you’re outfitting a basement bar, a garage workshop, or a secondary kitchen area, proper measurement, careful installation, and routine maintenance will keep your unit running smoothly for years. Home design resources like HGTV showcase plenty of compact appliance solutions in real renovations: Summit holds its own among them. Start with a clear sense of your space, budget, and cooling needs, then pick the size and configuration that fits. You’ll appreciate the dependability.