Hard water is a silent culprit in most homes, it clogs pipes, dulls hair, and leaves spots on glassware. If you own a Culligan water softener, you already understand the value of soft water. But keeping your system running smoothly requires regular salt maintenance. Culligan water softener salt replenishes the resin beads in your tank, which do the heavy lifting of removing calcium and magnesium from your water supply. Without the right salt and a solid maintenance routine, your softener loses effectiveness quickly. This guide covers everything a homeowner needs to know about selecting, installing, and maintaining Culligan water softener salt, so you can stop worrying about hard water and get back to enjoying clean, soft water throughout your home.
Table of Contents
ToggleKey Takeaways
- Culligan water softener salt regenerates resin beads by forming brine during the regeneration cycle, restoring your system’s ability to remove hard water minerals like calcium and magnesium.
- Choose between rock salt (budget-friendly but requires more maintenance), solar salt (middle ground), or evaporated salt (purest option) based on your water hardness level and maintenance preferences.
- Prevent common issues like salt bridging and mushing by storing Culligan water softener salt in a dry indoor location, keeping the brine tank cover sealed, and monitoring the tank monthly.
- Add salt to your brine tank every 4–6 weeks by filling it to about two-thirds capacity, and check for salt bridges if water isn’t reaching the salt.
- Homes with hard water above 15 grains per gallon benefit most from evaporated salt, as it produces minimal sediment and extends tank cleaning intervals to 5–7 years or longer.
What Is Culligan Water Softener Salt and Why Your Home Needs It
A water softener works by trading out hard minerals, calcium and magnesium, for sodium ions. The resin beads inside your Culligan tank are the workhorses: they grab onto those minerals and soften your water. Over time, the resin becomes saturated and stops working. That’s where water softener salt comes in. During the regeneration cycle, salt brine washes over the resin, restoring its ability to soften water. Without salt, your system can’t regenerate, and you’ll be back to dealing with hard water within days.
Culligan systems are designed to work with specific salt types, and using the wrong product can void warranties or damage the unit. The salt dissolves into the brine tank, a separate chamber from your main softening tank, and doesn’t directly touch your drinking water. If you’re concerned about sodium intake, rest assured that softened water isn’t noticeably saltier: it contains trace amounts of sodium, far less than a slice of bread.
Types of Culligan Water Softening Salt Available
Rock Salt vs. Solar Salt vs. Evaporated Salt
Culligan water softener systems work with three main salt categories, each with distinct pros and cons. Rock salt is the cheapest option and comes from underground salt deposits. It’s crushed into small crystals and is widely available. The downside: rock salt often contains insoluble minerals and clay, which leave sediment in your brine tank and require more frequent tank cleaning, typically every 2-3 years instead of 5-7 years with cleaner salts.
Solar salt is harvested by evaporating seawater or brine using sunlight and wind. It’s purer than rock salt and produces less sediment, making it a middle-ground choice in price and performance. Independent lab testing shows solar salt performs well for most residential systems.
Evaporated salt is the purest option, it’s created by boiling brine and collecting the crystals. It dissolves completely in the brine tank, producing minimal sediment and extending tank cleaning intervals to 5-7 years or longer. Evaporated salt costs more upfront but saves labor and extends equipment life. Many homeowners find the premium worth it, especially if they’d rather not deal with yearly brine tank maintenance.
For Culligan systems, any of these three work, but the sediment buildup from rock salt means more maintenance. If your home has high hardness levels (above 15 grains per gallon), evaporated or solar salt is the smarter long-term investment.
How to Choose the Right Salt for Your Culligan System
Start by checking your Culligan owner’s manual or calling your local Culligan dealer to confirm which salt types your specific model accepts. Most modern Culligan units handle pellets, crystals, or block salt, but older units may have restrictions. Next, assess your water hardness. If you’ve never tested it, grab a water hardness test kit from any hardware store, they cost around $10 and give you a baseline number in parts per million (ppm) or grains per gallon (gpg). Hard water above 15 gpg benefits from evaporated salt’s superior purity.
Consider your brine tank size and refill frequency. Larger tanks (50+ pounds of salt capacity) mean fewer refills per year. If you prefer convenience over cost, choose evaporated salt and refill every 3-4 months. If budget is tight, rock salt works fine, just plan on cleaning the brine tank more often or accepting the minor maintenance hassle.
Storage space matters too. You’ll need a dry area to keep several bags on hand (most homeowners buy 2-3 bags at a time to avoid frequent store trips). Moisture is the enemy: salt exposed to humidity clumps and doesn’t dissolve properly in the brine tank. Keep bags sealed and stored indoors. Industry standards recommend storing water softener salt between 40–90°F in a dry environment.
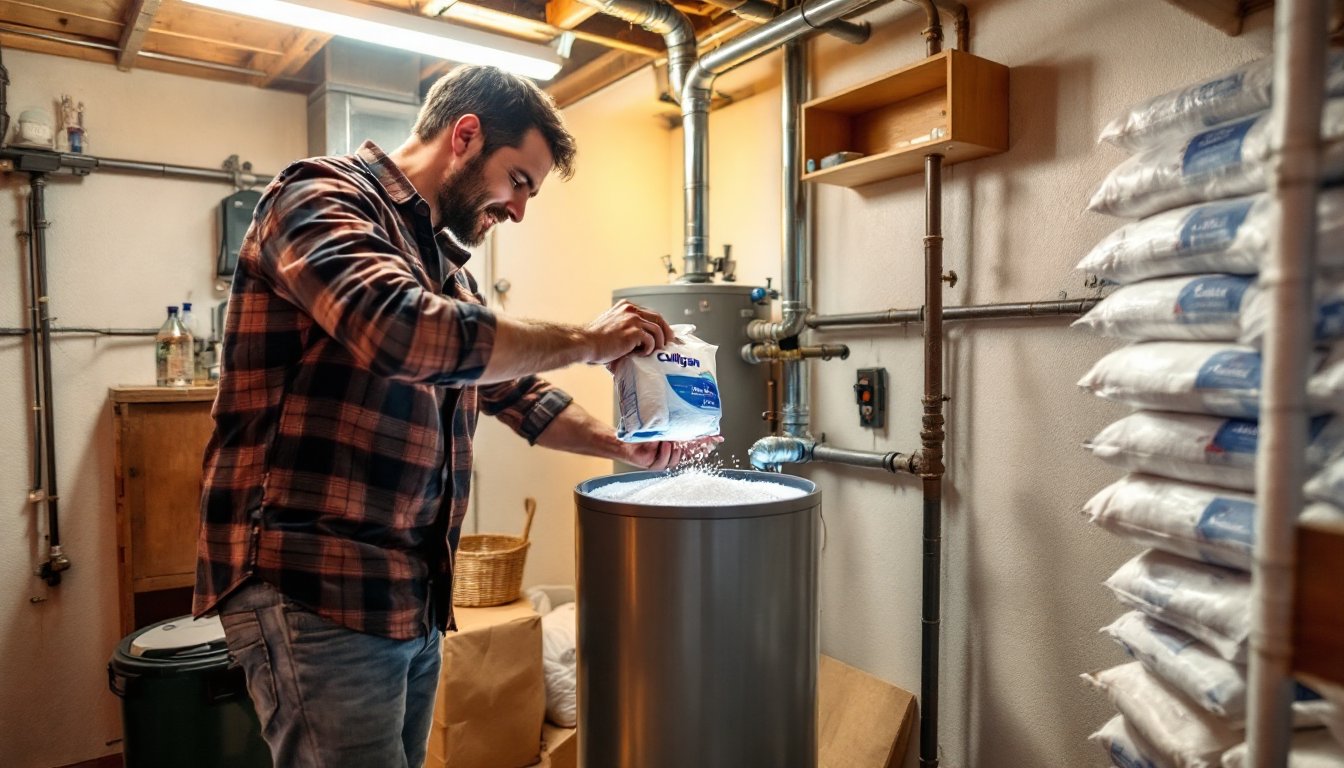
Step-by-Step Guide to Adding Salt to Your Culligan Water Softener
Before adding salt, locate your brine tank, it’s the smaller tank connected to your main softening tank, usually in a basement, utility room, or garage. Check the water level inside: it should be about one-third full of water. If it’s above that, your system may have a blockage, consult a Culligan technician before adding more salt.
Here’s the process:
- Prepare the area. Lay down cardboard or newspaper under the brine tank opening. Salt dust is fine but can be messy.
- Remove the salt cover. Most Culligan models have a removable lid or cap at the top of the brine tank.
- Check for blockages. Look inside the tank opening. If you see a solid salt bridge (a crust of hardened salt spanning the tank width), you’ll need to break it apart with a broom handle or long rod. Gently tap the crust until it crumbles and falls.
- Pour in the salt. Use bags of Culligan salt, pellets, or evaporated salt (as per your system specs). Pour slowly to avoid splashing. Fill the tank until it’s about two-thirds full. Most brine tanks hold 40–100 pounds depending on the model.
- Replace the cover. Secure the lid tightly to prevent salt spillage and contamination.
- Monitor the system. Over the next 24 hours, your Culligan will likely trigger a regeneration cycle. Listen for water flowing into the brine tank and out through the drain. This is normal.
Refill your brine tank every 4–6 weeks, depending on water hardness and household size. A family of four with moderately hard water (10–12 gpg) typically uses one 40-pound bag every 4–5 weeks.
Maintenance Tips and Common Issues to Avoid
Salt bridging is the most common headache. When humidity inside the brine tank causes salt crystals to fuse into a solid mass, water can’t reach the salt to form brine, and your system won’t regenerate. Prevent it by storing bags in a dry location, keeping the brine tank cover sealed, and checking inside the tank monthly. If a bridge forms, break it apart as described above. Add a brine tank float valve or spacer rod (available from Culligan) to prevent future bridges.
Salt mushing happens when fine salt particles accumulate at the tank bottom as a sludgy paste. It’s worse with rock salt but can occur with any type in humid conditions. Clean the tank annually by draining it, rinsing the sides with a garden hose, and scooping out buildup. Most Culligan dealer service calls cost $150–$250, so DIY cleaning saves money if you’re comfortable with basic tasks.
Tank overflow or water leaking signals a deeper problem, usually a cracked tank or failed valve. Stop adding salt immediately and call a professional. Trying to DIY this risks water damage and may void your warranty.
Regeneration not occurring happens when the system’s timer or valve fails. Check that your Culligan is set to the correct regeneration day and time. If it’s set correctly but still not regenerating, you’ll hear silence during the cycle window. Contact your Culligan dealer: this typically requires a technician visit.
For the salt itself, never use table salt or rock salt sold for de-icing (it’s too coarse and contains additives). Stick to water softener-specific salt from reputable suppliers. Recent testing by professional labs confirms that evaporated and solar salts consistently outperform rock salt in purity and dissolved sediment levels, reducing maintenance needs.
Conclusion
Keeping your Culligan water softener running smoothly comes down to choosing quality salt and staying on top of routine maintenance. Whether you opt for budget-friendly rock salt or invest in evaporated salt, the key is consistency: refill on schedule, inspect for bridging, and clean the brine tank when needed. A well-maintained Culligan system delivers soft water for years, protecting your appliances and plumbing while giving you the clean, spot-free water every home deserves. Start with your water hardness test, pick the salt type that fits your lifestyle, and you’re on your way.